
Water TD Turret Placement: Where Banks Decide
Placement in Water TD is a hydraulics problem. Here is how bends, chokepoints, elevation and erosion decide which tiles keep a turret alive and useful.
Most tower defense games hide their placement rules in pathing. Water TD has no pathing. It has gravity, terrain and erosion, which means a tile is not good or bad in the abstract; it is good or bad depending on what the water will do to it in the next ninety seconds.
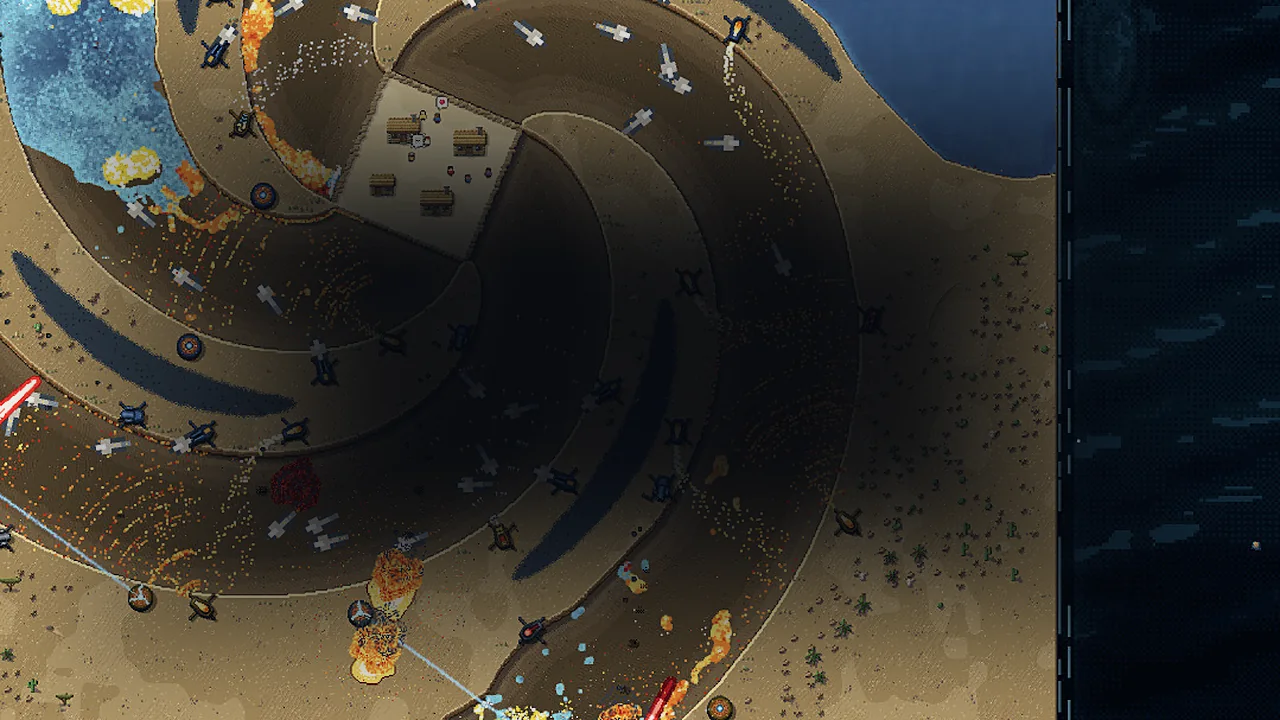
Rule one: the water will take the lowest route
Not the shortest route, and not the route you built for. The lowest one. On every map, trace the low ground from the map edge toward your base and you have found the line you must hold. Placement anywhere else is decoration.
This is why damming a channel is dangerous early. A wall across the lowest route raises the water level until it finds the second-lowest, and the second-lowest is usually a bank you have not defended at all.
Rule two: the outside of a bend erodes first
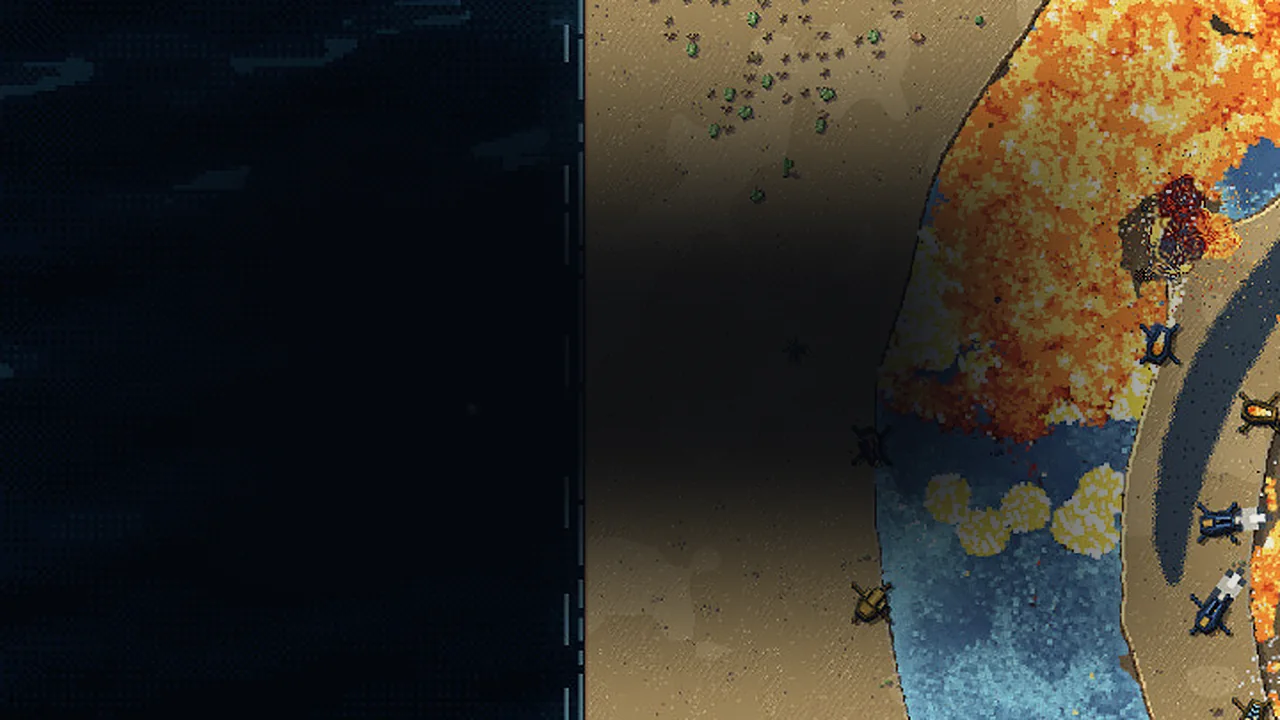
Water running around a curve puts its energy into the outer wall of that curve. In Water TD that means the outer bank of a bend is the first ground to go, and a turret standing on it is the first turret you lose. The Washed Out achievement exists because this is universal: 100% of players have lost a turret to the water.
The fix is simple and slightly counterintuitive. Put your cheap damage on the outer bank and your expensive damage one tile inland, on the inside of the bend, where the ground is stable and the firing line still covers the channel.
A bank that looks fine during a quiet wave can collapse during the next surge. Treat every turret on an outer bank as a temporary unit and never put a build diamond turret there.
Rule three: build in depth along the flow, not across it
Depth means several ranks of turrets along the direction the water travels, each covering the previous rank's blind spot. A line across the flow is one breach away from useless; a stack along the flow keeps firing after the first rank is gone.
On wide maps the pattern is a shallow V pointing upstream, with the point on solid ground. On spiral maps it is a staircase along the inner wall, where the water has to pass every step.
Rule four: elevation beats range
A turret on high ground can see over a bank that a turret on the river floor cannot. The practical version: place long-range families on the highest tile within reach of the channel, and place close-range families at the bottom where the water actually arrives.
MORTAR is the exception, because indirect fire does not need line of sight. That makes it the only family worth placing behind a ridge.
Rule five: leave the flood a path you can control
A completely sealed basin is not a win. It is a pressure vessel. If water cannot leave, it rises until it spills somewhere you did not choose. Good placement leaves one intended overflow route, covered by your second rank, so you decide where the excess goes.
This is the same principle as a spillway on a real dam, and it is the single biggest difference between a layout that survives ten waves and one that fails at wave six.
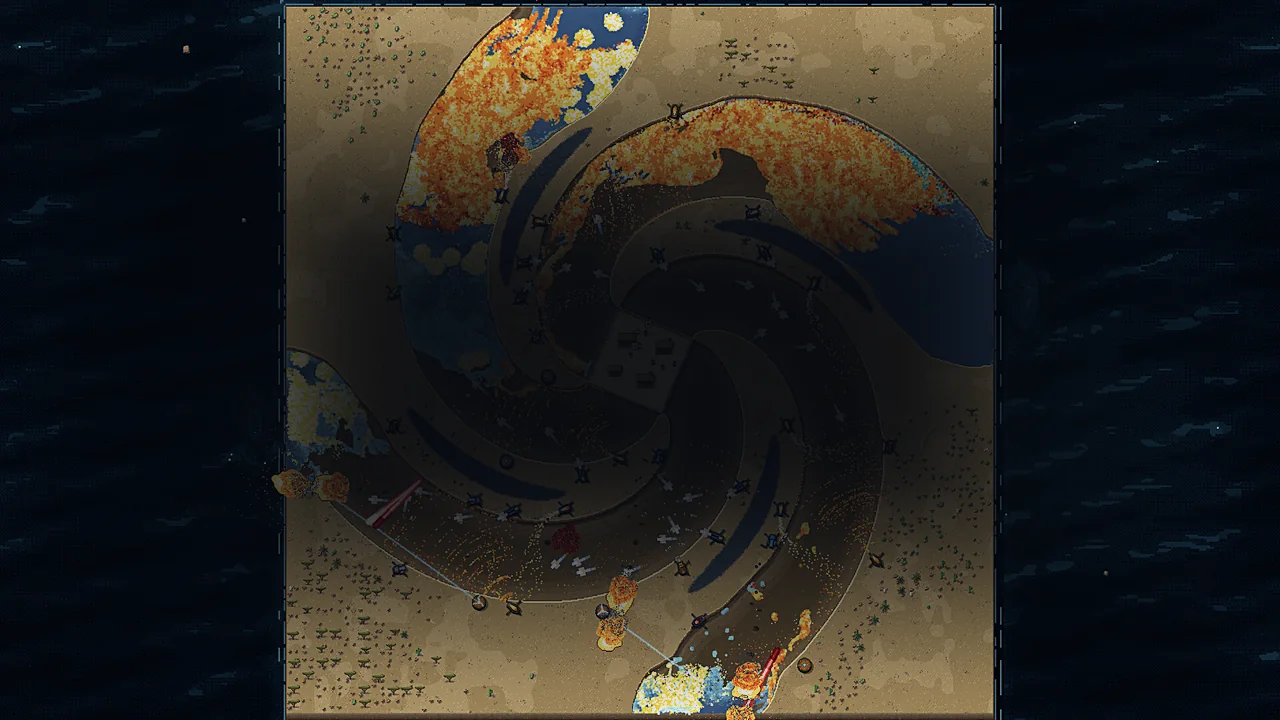
Placement by map shape
Spiral maps reward the inside wall. Water travels a long distance along a narrow channel, so a small number of turrets can hit it many times. Put FLAME and AUTO along the inner wall and save TESLA for the exit where the channel opens.
Open water maps are the opposite. The flood spreads across a wide front, so coverage beats depth and TESLA earns its cost. Place a FAN on one flank to push volume toward your strongest turret cluster.
Basin maps with a central base and radial wedges need a ring, not a wall. Cover the two or three wedges that carry the most water and let the others drain into ground you are willing to lose.
The erosion guide→ explains why banks fail, turrets→ covers ranges, and tips→ lists placement rules that survive late waves.
Frequently Asked Questions
Does turret height matter? Elevation affects what a turret can see and shoot over, so yes for direct-fire families. MORTAR ignores the question because it fires indirectly.
Should I ever build on the outer bank? Yes, with cheap turrets. The outer bank is where you want the damage you are willing to lose, so that your upgraded turrets stay on stable ground.
Why do my turrets stop firing? Check whether the ground under them is gone or whether water has risen above their firing line. Both are placement problems, not bugs.
Is there a maximum number of turrets? No hard cap is documented. Patch 1.0.1 did fix a bug where damage and kill numbers stopped displaying above 60 turrets, which tells you the game expects dense late-game layouts.
Sources
Official source: Terrain and erosion description: Water TD on Steam ↗ Official source: 60-turret display fix and other 1.0.1 changes: Water TD news ↗ Community source: Player screenshots of layouts: Steam community hub ↗